Make sure to check your magnet polarity before you glue! Check 2 and even 3 times, you don't want to mess that part up!
Step 1: Cut off the 1/2 ball on the bottom half of the waist and drill in to fit a 1/4 inch magnet
Step 2: Glue large magnet in to the bottom of the Torso.
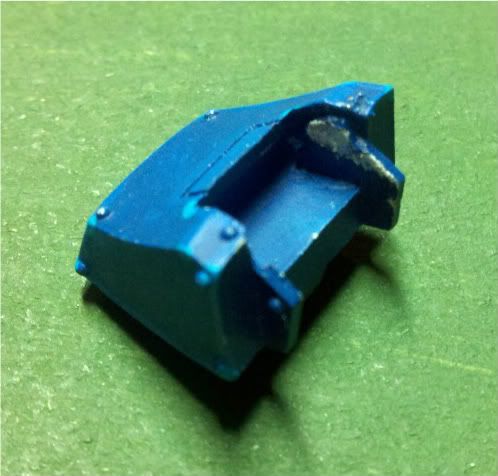
Step 3: now that you have your Contemptor Dreadnought up right, Drill out the Shoulder socket in the torso, to fit another 1/4 inch magnet.
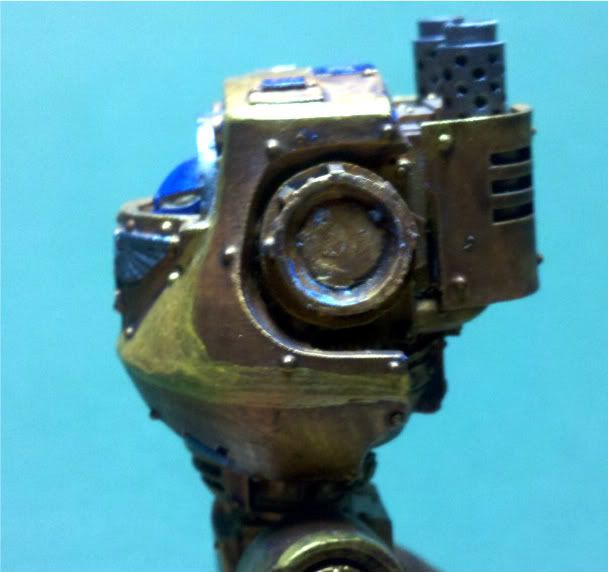
Step 4: Do the same thing to the shoulder itself.
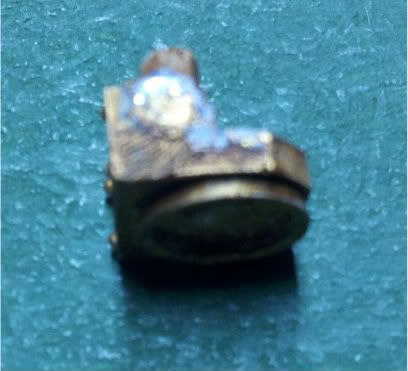
Step 5: from now on all the magnets I used are 1/8th inch. Drill out a place on each side of the inset on the outside of the shoulder piece and add magnets.
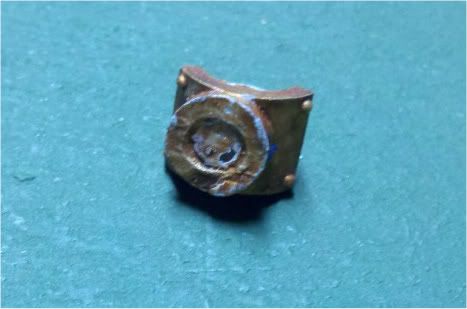
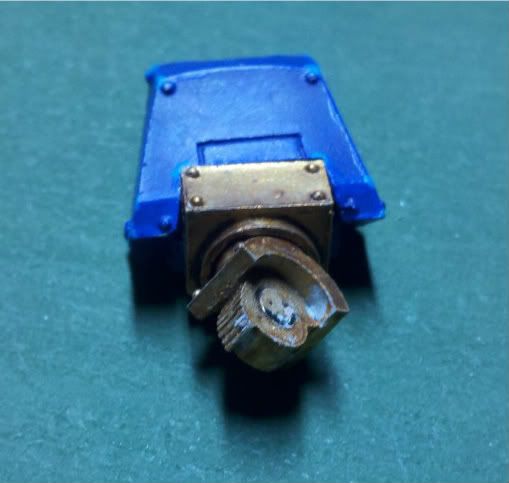
Step 6a: Take the next piece and drill out the spot where the magnets will make contact.
Step 6b: drill on the center of the flat area where the next piece will connect and place several magnets to ensure a strong hold.

Your arm should now look like this...

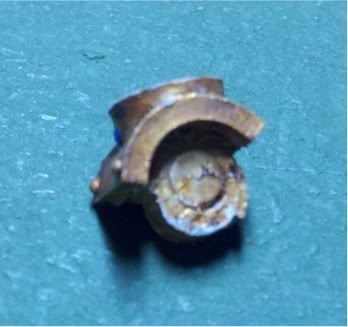
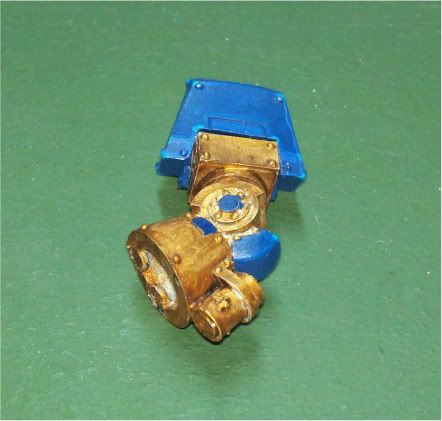
Step 7a: Take the next piece and drill where it will connect to the last piece and place the next magnet.
Step 7b: drill though the "elbow" and place 2 more magnets to ensure a strong connection.
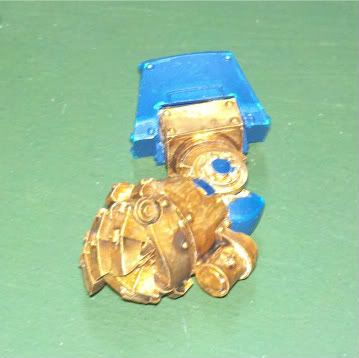
Your arm should now look like this...
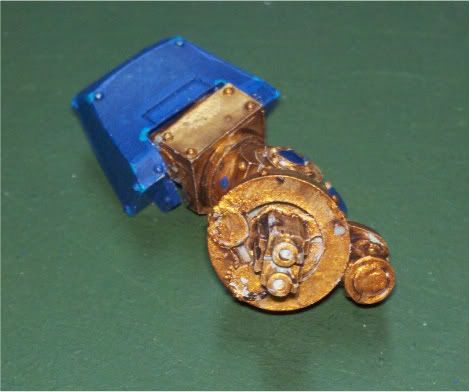
Step 8a: You will have to carefully cut off one of the sides to the elbow in-order to drill out where the elbow will connect. I used a Razorsaw to cut it in order to minimize the damage done to the model. Drill very carefully here are you may go though the sides of the elbow very easily.

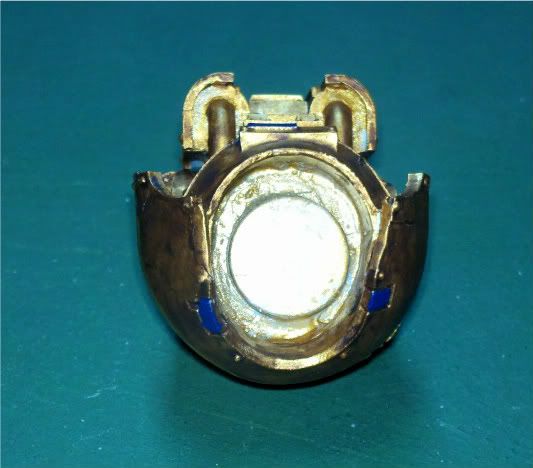
Step 8b: on the other side where the "hand" will connect drill out the center to place a magnet that will help hold the gun in place, and drill 2 spots on the rim 90degrees from each other to that your hand will later have 360degree movement.

Your arm should now look like this...
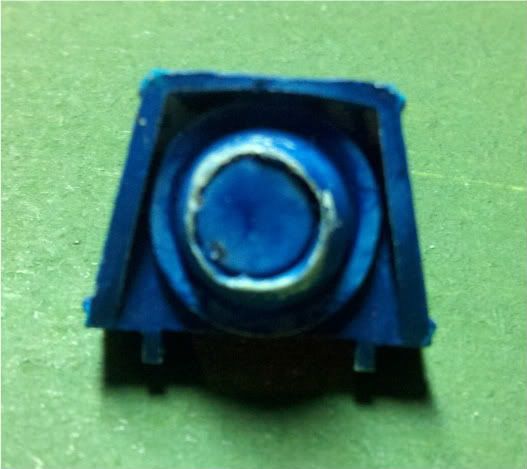
Step 9: trim the edges around the gun that will be placed inside the hand in-order to make it easier to move in and out of place. Then glue a magnet to the back of the gun.
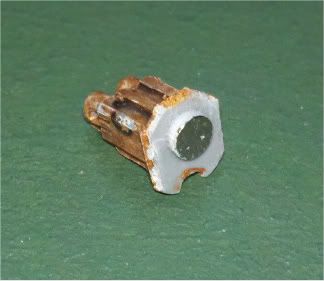
Looks like this now...
(Final) Step 10: Drill out 2 spots on the "wrist" part of the hand that are opposite of each other.

Your arm should be finished and should now look like this...
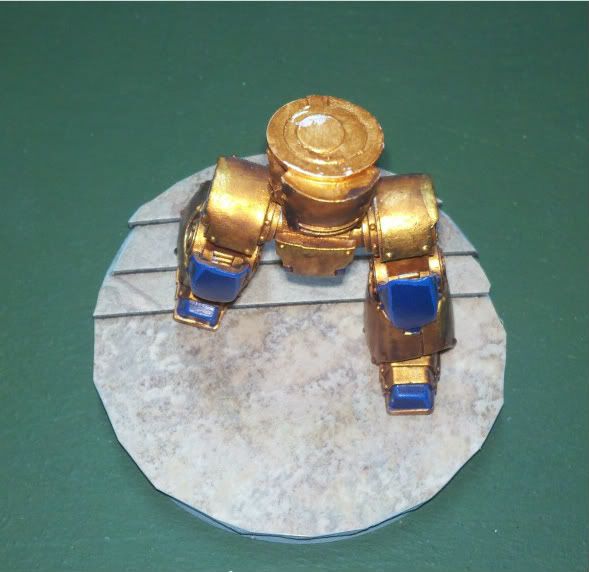
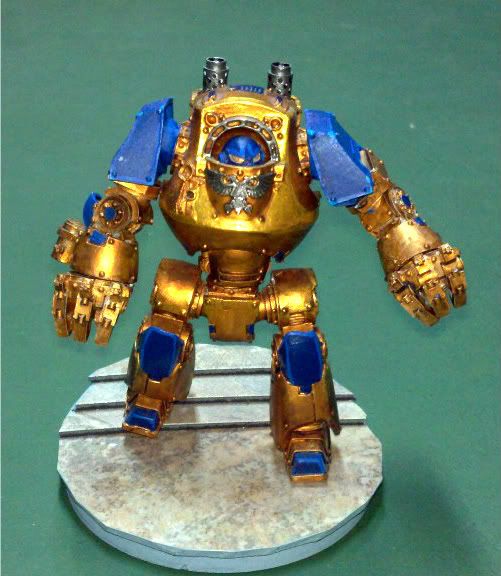
Once you place it on your Dread it should look like this.
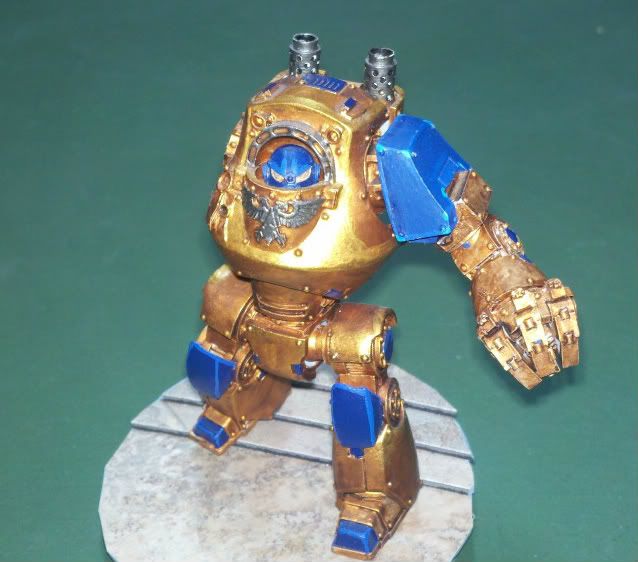
Now you are at the 1/2 way point as you get to do this again to the other arm! And when that is done your dread should have 100% fully magnetized and pose-able arms! You can even magnetize the head if you want. The magnet in the bottom of the torso was strong enough in mine that I only needed to put a magnet on the head itself.
I hope you find this tutorial educational, and as always...
Till next time! Happy Wargaming!
Great tutorial, thank you very much was very useful!
ReplyDeleteYour Welcome! I hope your Contemptor comes out well.
Delete