Let us start with finishing the Forge/Maulerfiend.

Here you can see I placed pins in the sockets for the front 2 sets of limbs. I kept the pins longer on the inside in order to give the pin more stability.

Here is the shoulder part for the gun mounts. You can see the pinhole on the larger ball half and on the bottom I placed a Magnet to help give further stability.
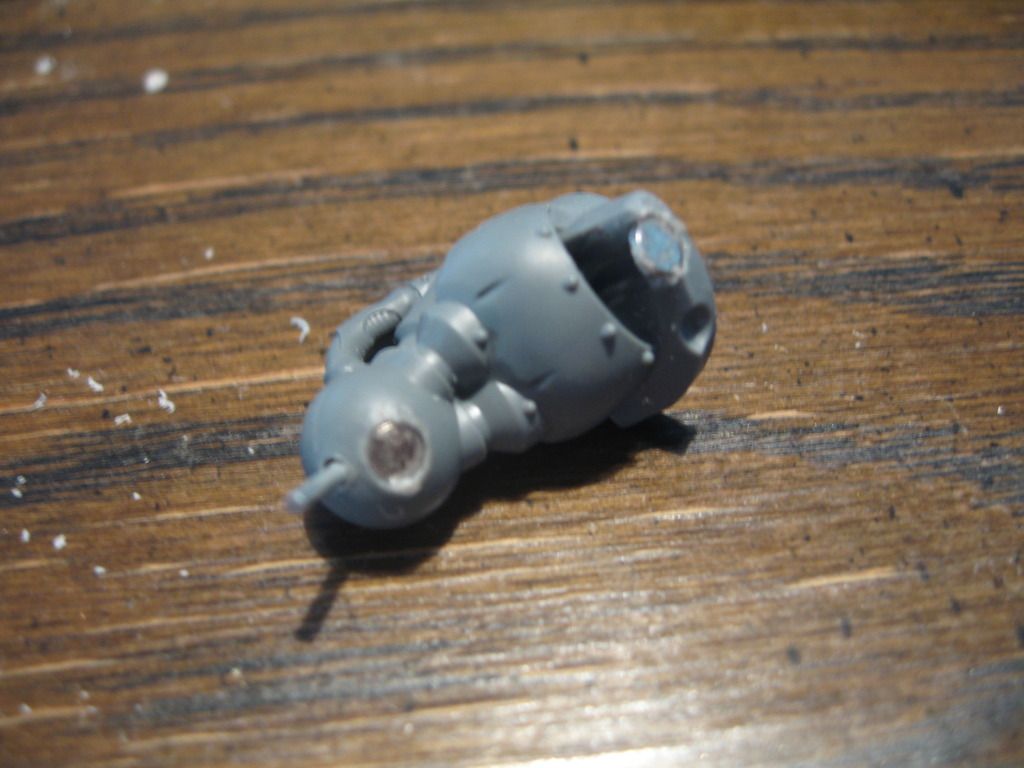
Here is the other side to the same part. You can see a Magnet on the right hand side, that one holds on the Shoulder Guard. The Pin and the Magnet on the ball at the bottom of the picture goes into the gun.

The Shoulder Guard was simple enough, just drilling out one of the notches to place the magnet.

You can see on the gun the pinhole and magnet that will hold onto the shoulder assembly.

Here is the arm for the Maulerfiend. it has the same pinhole and magnet setup at the gun mount shoulder piece.
So that is all I had done for my Forgefiend/Maulerfiend kit. I hope that this was helpful for those of you who are interested in not wasting parts of this expensive kit.
Next we move onto the Heldrake. I like many other people did not like the look of the wings when it came to the Heldrake. My solution was simple, cut the wings off and preposition then to something I liked.

Here is a picture of the smaller wings. I had cut them and glued them into place. You will want to do a Dry fit before you glue to make sure it will work with the spikes that come off the top of the model. I reinforced the wings with liquid green stuff. This was the first time that I have used the product at it worked well and dried quickly, but it was not the as easy to work with as I had hoped.

Here is a picture of the Larger wings on the Heldrake. I followed the same procedure for them as I did the smaller ones.
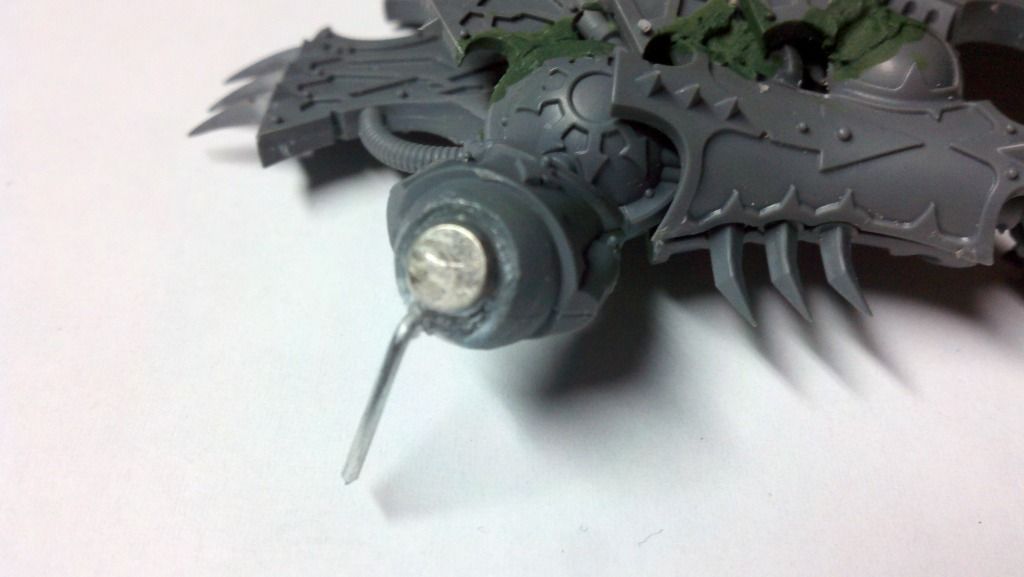
For easier transportation purposes I decided to also magnetize and pin the wings. On this particular wing I had to bend the pin in order to get it to set properly and this gives and extra bit of security to the body of the drake as well.
So this completes this part of my Hobby progress. I hope at least one person find use of this article. If anyone would like to know more about anything I do to magnetize or pin my models just put it in the comments and I will do my best to fulfill any request.
Till next time! Happy Wargaming!
Hi,
ReplyDeleteLiked Part 2 but can you please point me in the direction of Part 1?
Thanks
Dave
I guess I would consider the second half of the post before to be "part 1". I didn't title it part 1 as at the time I did not think about it.
Deletehttp://dracusjournal.blogspot.com/2012/10/my-take-on-chaos-and-hobby-progress.html