So if you did not read PART 1 you may want to go back and read that first as I am going to just jump right in here.
Showing posts with label Contemptor Dreadnought. Show all posts
Showing posts with label Contemptor Dreadnought. Show all posts
Friday, January 4, 2013


Monday, July 9, 2012
I made a difference and so can you!
Well Forge World is out with their updates for 6th Edition and they are asking for your questions. After I found out they had the updates on their website I decided to take a look at what changes they made to the units I own and wont to own.

Most of it looked much like what I expected but one thing popped out to me. The Contemptor Mortis Dreadnought had a special rule that gave it Skyfire if it did not move during that turn. This was to replace the "AA" rule that it had before if it did not move.
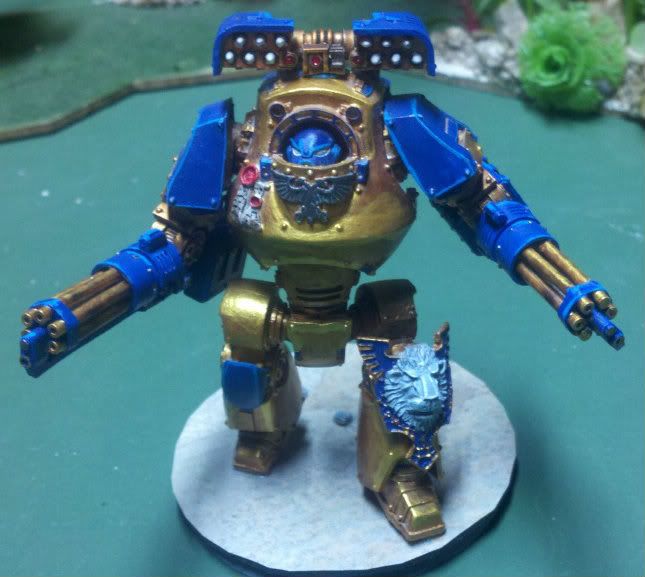
Flyers Beware!
Most of it looked much like what I expected but one thing popped out to me. The Contemptor Mortis Dreadnought had a special rule that gave it Skyfire if it did not move during that turn. This was to replace the "AA" rule that it had before if it did not move.
Monday, April 16, 2012
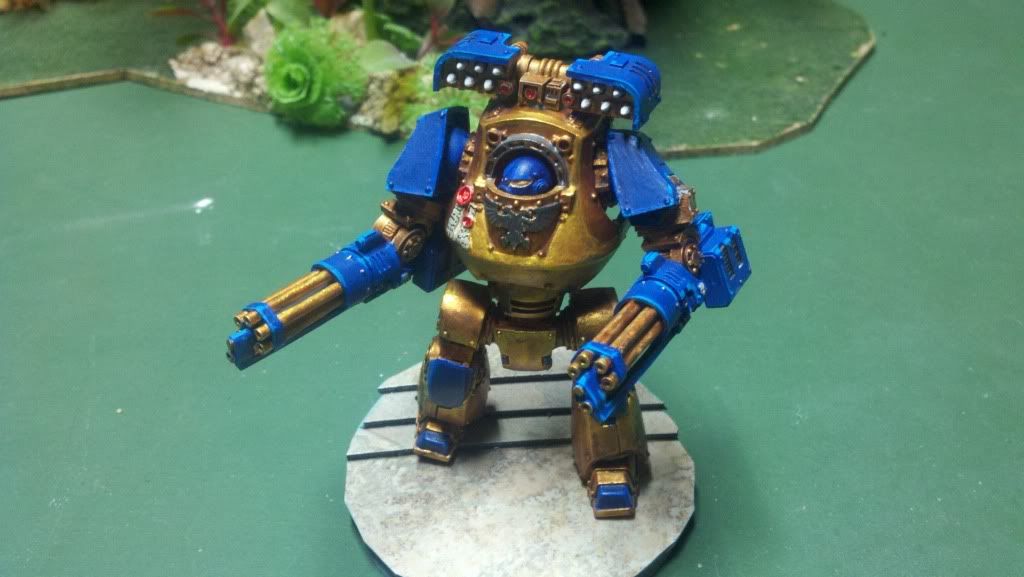
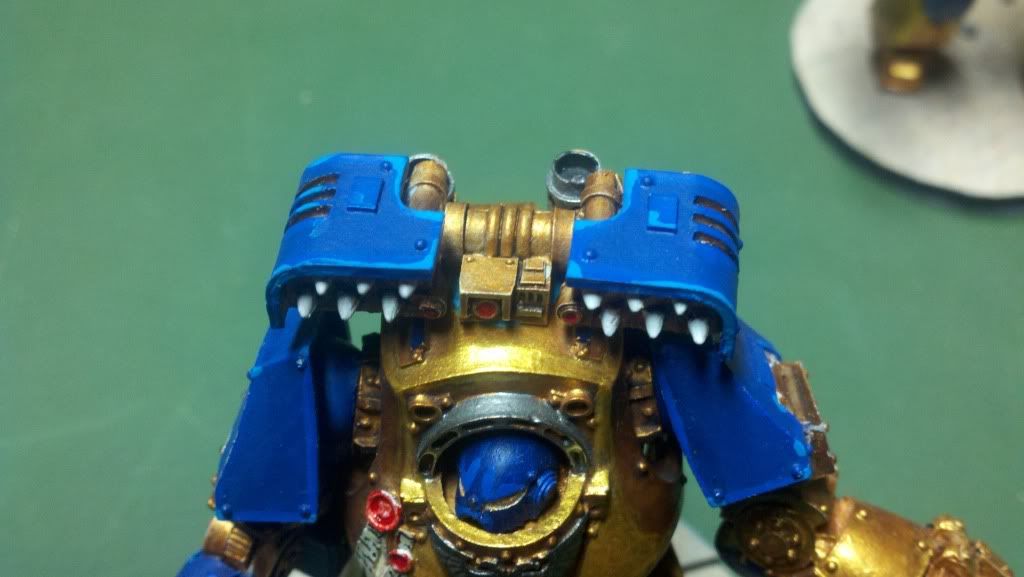
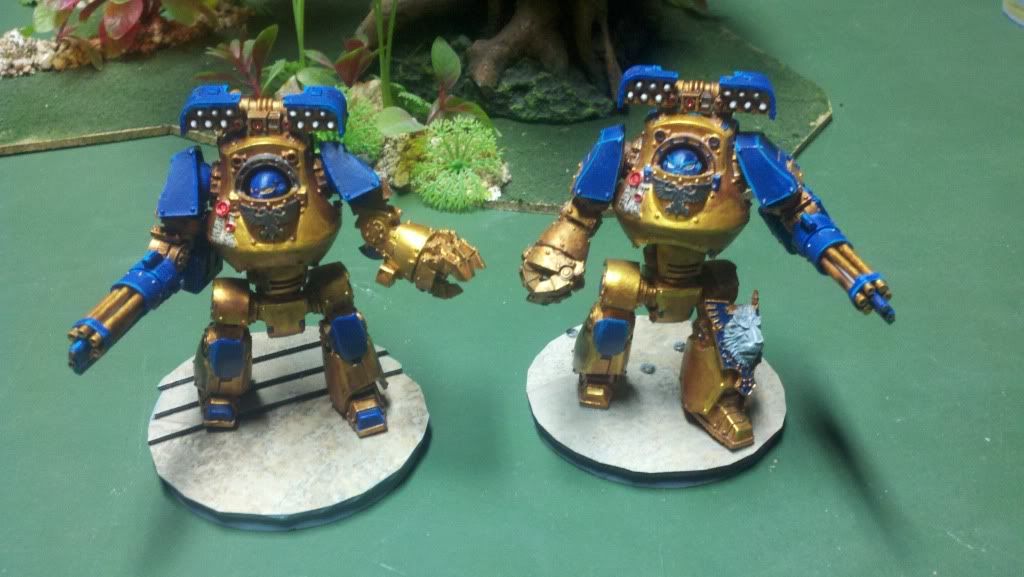
Mortis Contemptor Dreadnoughts back from paint
Just a quick update. I spent about half of Saturday painting the Kheres Assault Cannons and Cyclone Missile Launchers for the Dreads so I thought I would share them with you guy.


Tuesday, April 10, 2012
Army Update and other stuff.
Well it's been almost 2 weeks since my last post... it does not feel like it though. Well here is some stuff I have been up to. I ran another Tournament at my FLGS, we had some new faces show up from Bakersfield. One of them being Biffomatic, A blog follower, ended up winning with his
Sunday, March 4, 2012
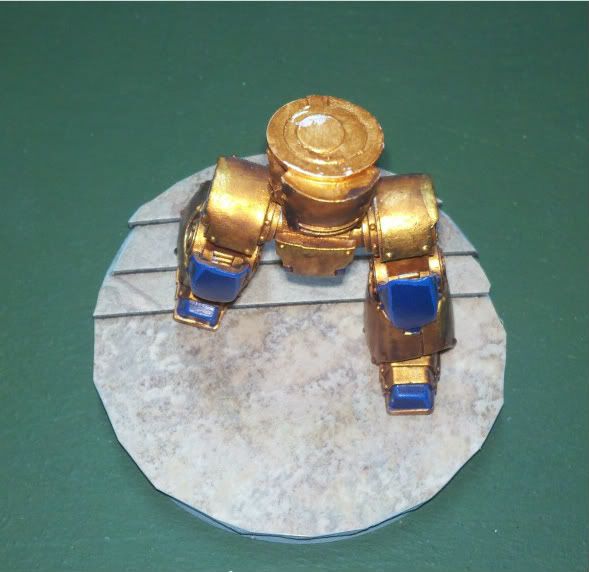
Magnetizing a Contemptor Dreadnought
By popular demand, here is a guide to how I magnetized my Contemptor Dreadnoughts. With Pictures!
Make sure to check your magnet polarity before you glue! Check 2 and even 3 times, you don't want to mess that part up!
Step 1: Cut off the 1/2 ball on the bottom half of the waist and drill in to fit a 1/4 inch magnet

Make sure to check your magnet polarity before you glue! Check 2 and even 3 times, you don't want to mess that part up!
Step 1: Cut off the 1/2 ball on the bottom half of the waist and drill in to fit a 1/4 inch magnet
Subscribe to:
Posts (Atom)